Monday, September 1, 2014

Funfetti Birthday Cake

Remember that time we dreamed about all the delicious forms funfetti could take? Well today, I brought those bright speckles of color back to their most traditional form - a fluffy, vanilla, rainbow sprinkled cake. All dolled up with a rosey ombre frosting, this makes for a very special birthday treat!


Recipe from: http://sweetapolita.com/2012/02/funfetti-layer-cake-with-whipped-vanilla-frosting/

Ingredients:


For the Cake:

1 cup whole milk, divided
4 large egg whites
1 whole egg
2 tsp vanilla extract
1/4 tsp almond extract
2 3/4 cups cake flour
1 1/2 cups sugar
1 Tbsp + 1 tsp baking powder
3/4 tsp salt
12 Tbsp unsalted butter
1/2 - 3/4 cup rainbow sprinkles

For the Frosting:

3 sticks + 2 Tbsp unsalted butter, softened
3 1/2 cups confectioners sugar
3 Tbsp whole milk
1 Tbsp vanilla extract
a pinch of salt


Directions:


For the Cake:

  1. Take out the eggs, milk and butter ahead of time to bring them to room temperature. To speed things up, soak the eggs in a bowl of warm water for 5 minutes.
  2. Preheat the oven to 350 degrees. Line two round 8 or 9 inch baking pans with parchment paper, butter and flour. 
  3. In a medium bowl or measuring cup, combine 1/4 cup milk, the egg whites, egg yolks, vanilla and almond extract.
  4. In a large bowl, whisk together the flour, sugar, baking powder and salt.
  5. Add the butter, and blend with an electric mixer on low speed for 30 seconds.
  6. Add remaining 3/4 cup of milk and mix on low speed until just combined. Increase to medium speed and mix for 1 1/2 minutes.
  7. Scraping down the sides of the bowl, slowly add the egg/milk mixture in 3 separate batches, beating on medium speed for 20 seconds after each addition.
  8. Using a spatula or spoon, gently fold in the sprinkles
  9. Pour the batter into the two pans as evenly as possible, smoothing the tops using an offset palette knife or spatula. 
  10. Bake for 25-25 minutes, checking the cake at 20 minutes. Cake is done when a toothpick inserted into the center comes out clean
  11. Let cool for 10 minutes before loosening the edges. Invert onto greased cooling rack.

For the Frosting:

  1. In a large bowl, whip butter for 8 minutes on medium speed.
  2. Add in the sugar, milk, vanilla and salt, mixing on low speed for 1 minute, and then on medium for 6 minutes. 


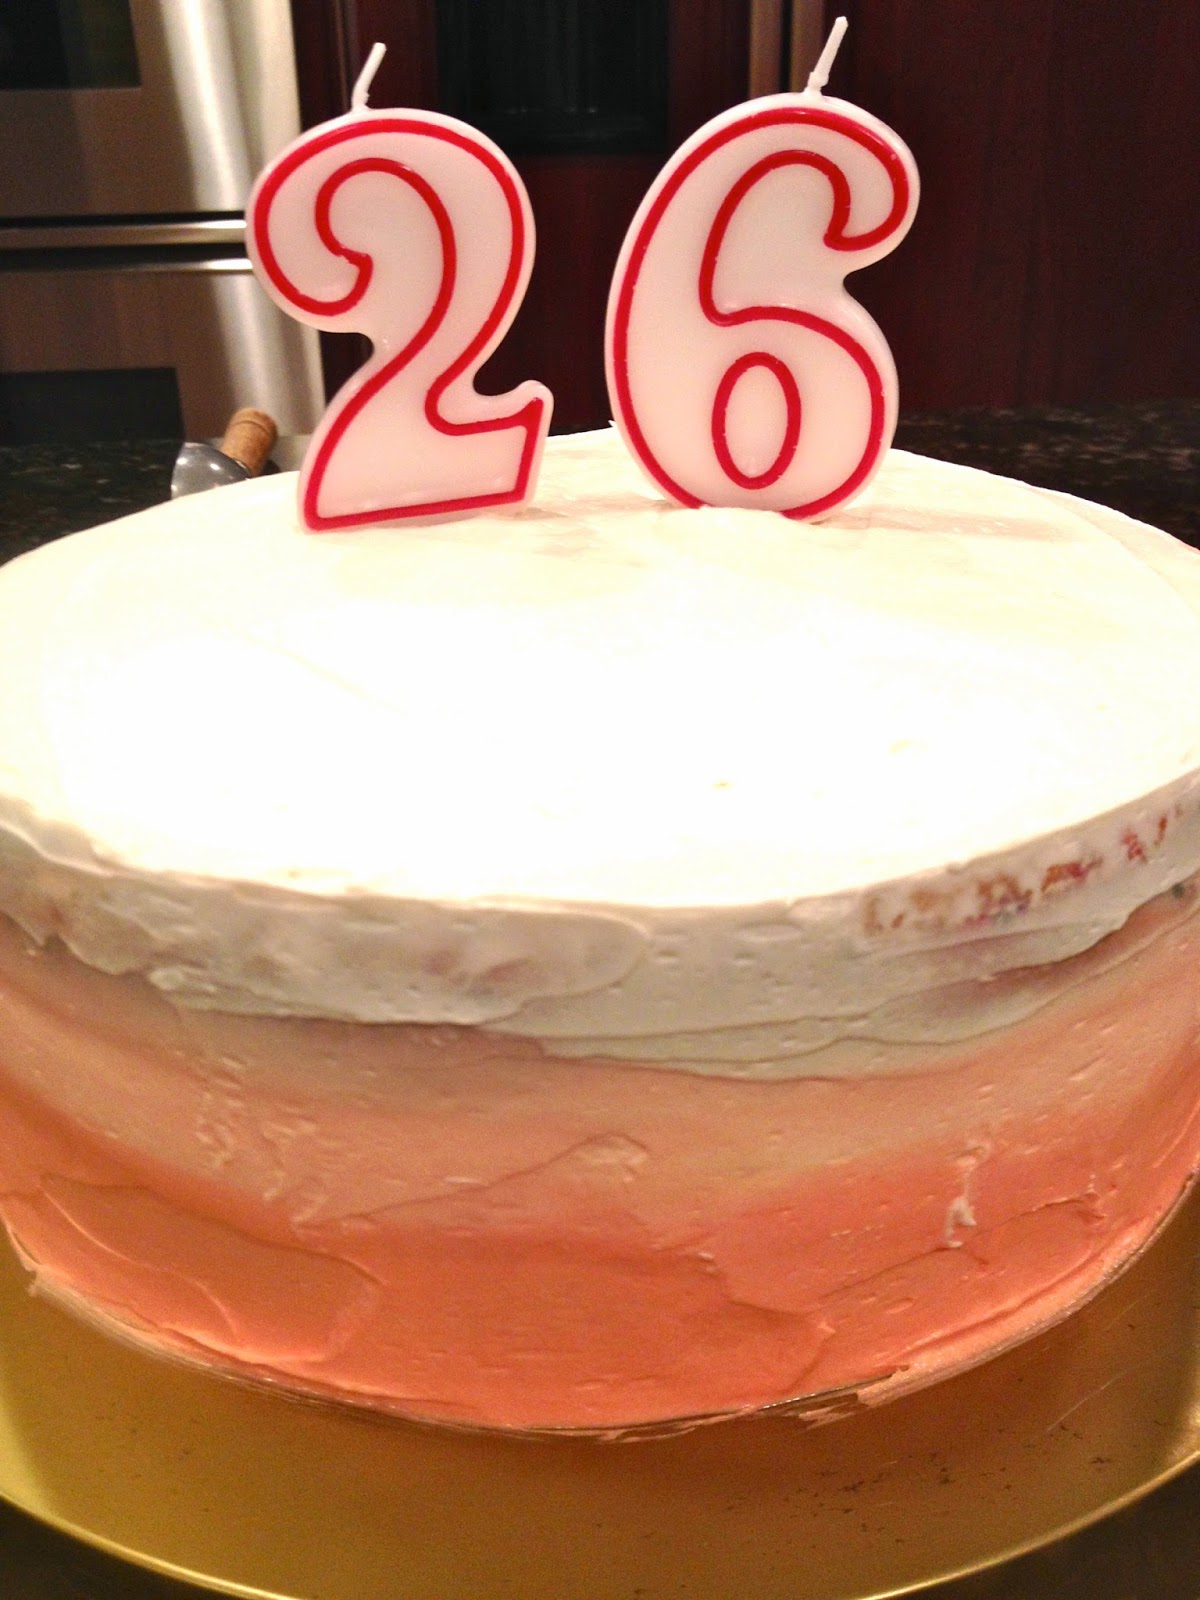
Thanks to my new icing spatula, this is the most "square" round cake I've ever made


Look at those happy sprinkles peeking out!


Yum!


Sunday, July 27, 2014

Crispy Quinoa Cakes

Eating healthy is about to get oh-so easy. But first things first, let's take a moment to appreciate the fact that I am posting a real recipe and not another batch of cookies! The cooking side of this blog strikes again...

I will warn you now that these are highly addictive. Honestly, they taste like my far distant memory of tater-tots. Crispy on the outside and soft on the inside, with a fluffy texture and just a hint of that delicious fried taste we all love so much. Except these give you not only the superfood benefits of quinoa, but a serving of yummy veggies too! They work great over a bed of lettuce with a homemade balsamic vinaigrette. 


Thanks to my mom for my gorgeous new sautee pan!


Recipe Adapted from: http://sallysbakingaddiction.com/2014/04/09/crispy-quinoa-patties/

Ingredients:


2 cups cooked quinoa, cooled to room temperature
2 eggs, beaten
1/4 tsp salt
pepper to taste
1 Tbsp chopped parsley
1/2 cup of onion, finely chopped
2/3 cup shredded zucchini
1/3 cup parmesan cheese
1/2 cup breadcrumbs (gluten free or regular, I used panko)

1 Tbsp+ olive oil, for cooking

Directions:


  1. In a large mixing bowl, beat the eggs, and mix in the quinoa, salt and pepper.
  2. Stir in the parsley, onion, zucchini, cheese, and breadcrumbs.
  3. Heat the oil on a medium-low temperature while you form the patties.
  4. Add 5-6 patties to the pan, or as many as will fit without touching, cover, and cook for 5-7 minutes, until the bottoms have browned.
  5. Very carefully, flip over the patties, cover and cook another 5 minutes, until golden. Add more olive oil to the pan between batches if needed. Don't worry if some of your patties fall apart while they cook, the crumbled parts will still taste delicious dumped on top of a salad!


*I've made these a little more FODMAP friendly, but feel free to add in some chopped garlic, extra onion, and any other veggies, like carrots, summer squash etc., that you want to shred up! 

*The finer you chop the veggies, the better the patties will stick together, shredding or grating works best.

Enjoy warm or cold! You can also store the uncooked mixture in the fridge for a few days.

Yields 13-15 patties


My happy solar powered dancing flower agrees these patties are the best!


 Don't you just want to bite into one of these? Noms


Soft and Chewy Molasses Cookies (dairy-free)

Oh look, is that a new post?! Shhhh let's pretend that it's seasonally relevant for once. Not that anyone wants to think about Fall in this midst of this beautiful summer (well, except for me), but here is a much overdue recipe for the most amazing molasses cookies you will ever have. They are soft, moist and bursting with that deliciously fragrant and warm Fall flavor. And, most excitingly, you can easily make them dairy free. And hey, I've waited so long to post this, that there only a few more weeks until this recipe will become relevant again!


Recipe Adapted from: http://sallysbakingaddiction.com/2013/11/26/caramel-molasses-cookies/


Ingredients:


3 cups all-purpose flour
1 tsp baking soda
2 tsp ground ginger
1 and 1/4 tsp ground cinnamon
1/4 tsp ground cloves
1/4 tsp nutmeg
1/4 tsp salt
3/4 cup coconut oil (softened, but not liquid) (or 3/4 cup butter)
3/4 cup dark brown sugar
1/3 cup dark molasses 
1 egg, at room temperature
3 tsp vanilla extract

1/3 cup granulated sugar, for rolling


Directions:

  1. Preheat the over to 350F.
  2. In a medium bowl, mix together the flour, baking soda, spices and salt.
  3. In a large bowl, using a stand or handheld mixer, "cream" the coconut oil for about 1 minute on medium speed. Add the brown sugar and beat until light and fluffy, about 2 minutes. Beat in the molasses, egg and vanilla.
  4. Slowly add the dry ingredients to the wet on a low speed, being careful not to overmix. 
  5. Cover the dough and chill for 1 hour.
  6. Pour granulated sugar onto a plate or bowl. Scoop out dough into 2 Tbsp rounded balls, and roll through the sugar before placing on baking sheets
  7. Bake cookies for 8-9 minutes. To get that enticing crinkly top, gently tap down the poofy tops of the cookies with the back of a spoon. Return to the oven to bake for 1 more minute.


Look at those gorgeous crinkly tops!


Sunday, June 1, 2014

Funfetti Sugar Cookies

This recipe is for my brilliant sister, who just received these delightful cookies to celebrate finishing her first year at Harvard as an English Literature PhD candidate. 

"How do I love thee funfetti cake? Let me count the ways..."

Of course I love you as cake, as cupcakes and as cake pops. I even dare to dream of you as creamy cheesecake and mile-high pancakes, as cake-batter ice-cream and sprinkled donuts. But today, I love you as soft, fluffy, melt-in-your mouth cookies.


{Recipe Adapted from: http://www.averiecooks.com/2013/07/softbatch-funfetti-sugar-cookies.html}

Ingredients:

1/2 cup (1 stick) unsalted butter, softened
3/4 cup granulated sugar
1 large egg
1 1/2 teaspoons vanilla extract
1 1/4 teaspoon almond extract
1 1/2 cups all-purpose flour
2 teaspoons corn starch
3/4 teaspoon baking soda
1/4 tsp salt
3/4 cup rainbow sprinkles 


Directions:


  1. In a large mixing bowl, combine the butter, sugar, egg, extract, and beat on medium-high speed with an electric mixer for about 7 minutes, until well-creamed, light in color and fluffy.
  2. Add the flour, cornstarch, baking soda, salt, and mix until just combined, about 1 minute.
  3. Add the sprinkles and beat to incorporate, or fold in by hand.
  4. Form dough into heaping two-tablespoon mounds. Place mounds on a large plate or cookie sheet, flatten mounds slightly with your palm, cover with plastic wrap, and refrigerate for at least 2 hours, or up to 5 days, before baking. (If you bake without refrigerating the dough, the cookies will spread too thin).
  5. Preheat oven to 350F and line two baking sheets parchment paper. Place mounds on baking sheets, spaced at least 2 inches apart (they will become quite large!). Bake for 8 minutes, or until edges have set and tops are just beginning to set. You don't want these cookies to turn gold brown at the edges, they should look almost undercooked, pale, and glossy in the center. The cookies will continue to firm up as they cool.
  6. Dance with joy because you just made funfetti cookies!
Yields 15-17 cookies


Tower of Cookies!

Monday, December 23, 2013

Mini Pumpkin Cheesecakes with Gingersnap Crust

These flew off the shelf a little too quickly for any proper photos to be taken, but everyone who tried them seemed to think they were delicious! Though I can't provide a first hand-account of these for you, as I am now adding dairy-free to my list of dietary restrictions, they smelled fantastic and many happy nomming sounds were made by those who tried them! They're the perfect size for a potluck party (I clearly have mini-sized food problem) - give them a try at your next Friendsgiving or holiday party!

I decided to try an all gingersnap cookie crust, but next time I will try mixing them with some gingerbread crackers as well, I think it will make the crust a little softer. These would also go great with the crust from the (also mini-sized) White Chocolate Raspberry cheesecakes!

Recipe adapted from: http://www.roxanashomebaking.com/marble-pumpkin-cheesecake-recipe/


Ingredients:


For the Crust:


1 1/4 cup gingersnap crumbs
1/2 teaspoon cinnamon
1/4 teaspoon nutmeg
1/4 teaspoon ginger
1/8 teaspoon ground cloves
1/4 cup melted butter

For the Pumpkin Filling:


2 packages of 8oz cream cheese, room temperature
1/3 cup sugar
2 Tbsp heavy cream
1 egg
1 cup canned pumpkin puree
1/3 cup brown sugar
1/4 teaspoon cinnamon
1/8 teaspoon nutmeg
1/8 teaspoon ginger
a dash of ground cloves


Directions:

  1. Preheat oven to 375 degrees F and grease and flour your mini muffin pans
  2. In the bowl of your food processor, grind the gingersnap cookies into fine crumbs, then add in the spices and melted butter and blend until combine
  3. Scoop out a tablespoon of the mixture into each well of the pan, and press down firmly
  4. Refrigerate for 5-10 minutes
  5. In a large bowl, add the cream cheese, 1/3 cup sugar and heavy cream. Beat on a low speed until fluffy
  6. Add the egg and blend well
  7. Remove 2/3 cup of the cream cheese mixture and set aside
  8. Add the pumpkin puree, brown sugar and spices to the the remaining mixture and blend well
  9. Spoon the pumpkin mixture into the pans, leaving a little room at the top of each
  10. Place a dollop of the reserved cream cheese mixture on top of each, and use a toothpick to swirl it in
  11. Bake for 15-20 minutes, until the sides are set and the center is just slightly wobbly. 
  12. Once they are done, turn off the oven and leave the oven door open, letting the cheesecakes cool inside for 30 minutes before refrigerating

Makes about 25 miniature cheesecakes, or 1 large 9-inch cheesecake


Spooky Chocolate Covered Strawberries for Halloween

Okay so I'll admit I obviously have a problem keeping up. But now that it's almost Christmas, it's definitely time for a Halloween post right? For the recipe, head over to: Chocolate Covered Strawberries


Isn't this little guy so cute!


Happy Halloween! (I mean Christmas!)


Saturday, November 23, 2013

Mini White Chocolate Raspberry Swirl Cheesecakes


{Recipe Adapted from: http://susikochenundbacken.blogspot.com/2011/03/mini-white-chocolate-raspberry.html}


Ingredients:


For the Crust:


1 c slivered almonds
2 c (7 oz) graham crackers
1 stick unsalted butter, melted

For the Filling:


7 oz white chocolate
4 (8oz) packages of cream cheese, softened
1/2 c plus 2 Tbsp sugar
4 large eggs
2 Tbsp flour
1 tsp vanillia
1/3 c seedless raspberry jam


Directions:


For the Crust:

  1. Pulse the almonds and graham crackers in the food processor until you get a fine crumb, add the butter, blending until combined
  2. Press down crumbs into the mini cupcake pan and 2/3 up the sides (make sure you really push down to give yourself a compacted, sturdy crust)


For the Filling:

  1. Preheat the oven to 350 degrees F.
  2. Melt the chocolate in a double broiler, stirring until smooth. Remove from the heat
  3. With an electric mixture, beat the cream cheese at a medium speed until fluffy, then beat in the sugar. Add the eggs one at a time, beating at a low speed and scraping down the bowl after each addition
  4. Beat in the flour and vanilla until just combined, then add in the melted chocolate in a slow stream, beating until the mixture is well combined.
  5. Pour the filling over the crust in each well, leaving a little room at the top of each
  6. Add a tiny dollop of jam to each cheesecake, and gently swirl with a toothpick to get a marble effect (be careful not to over-mix!)
  7. Bake for 15-20 minutes, until the cake is set but the center is still a little wobbly.
  8. Refrigerate for a few hours before serving.