Thursday, January 24, 2013

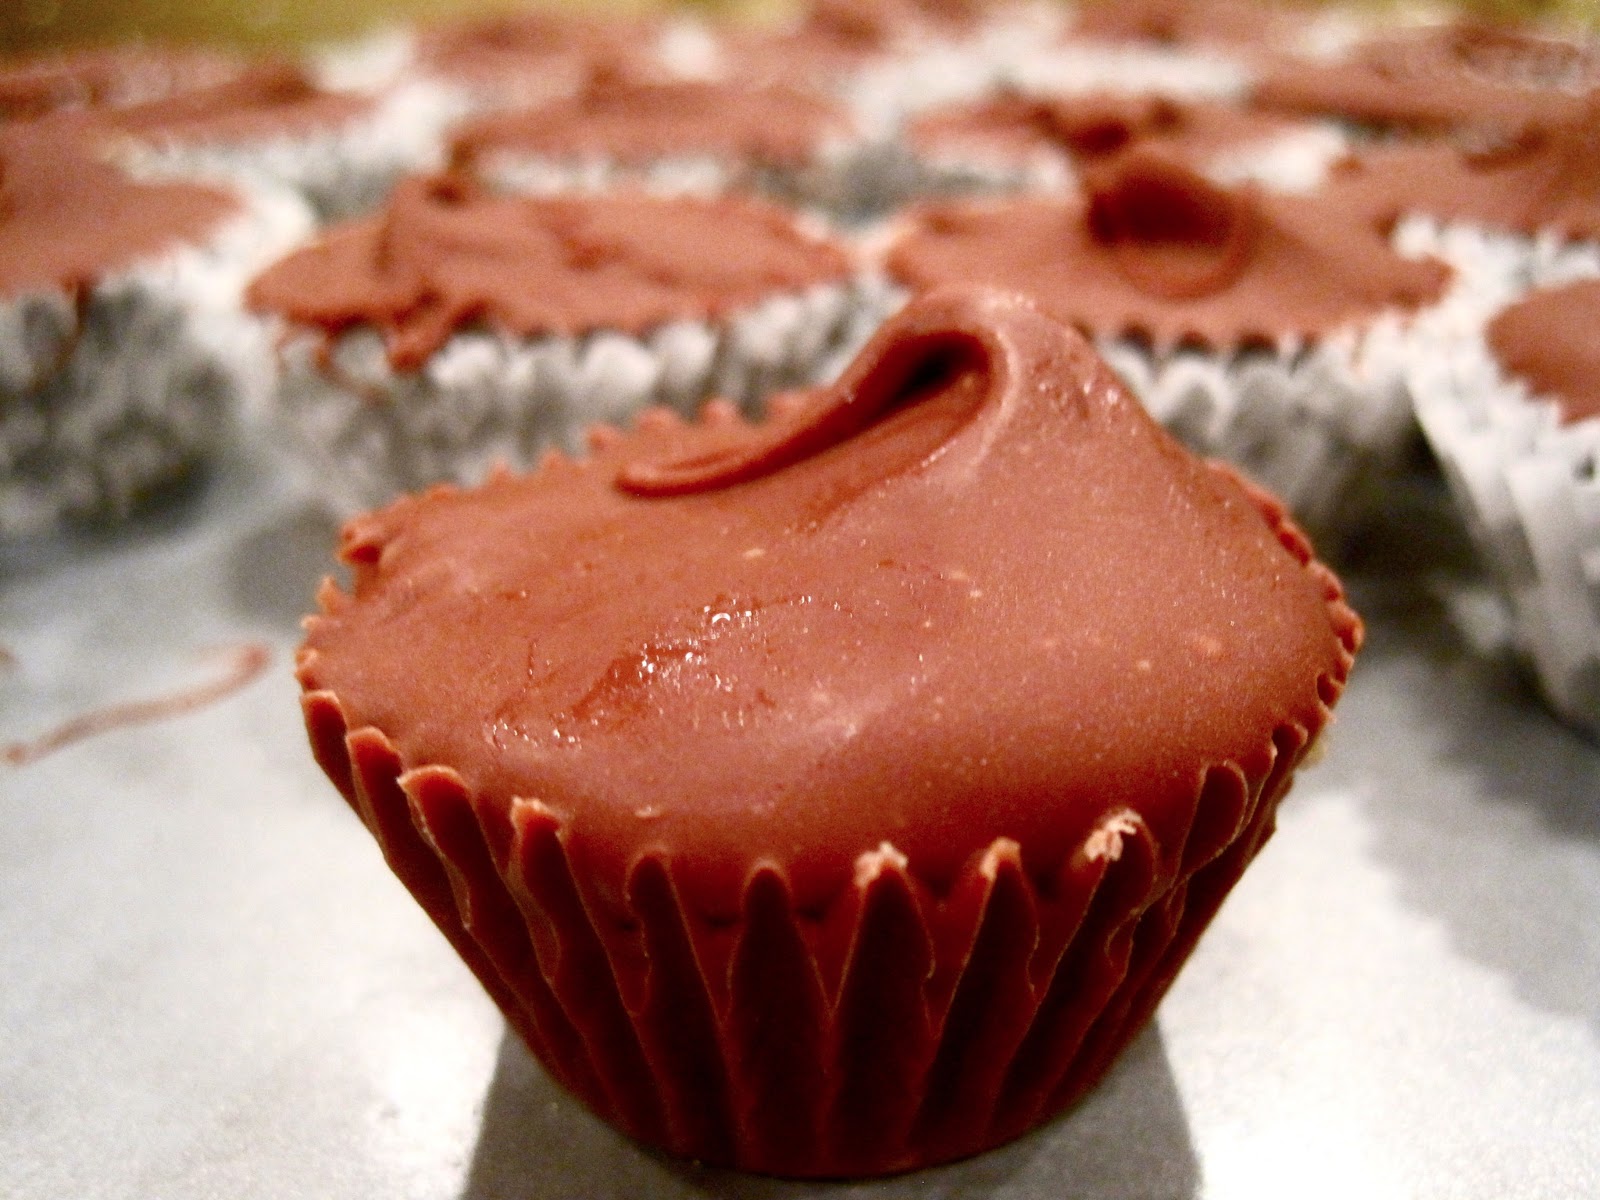
Not Your Average Reese's Cup: Peanut Butter Chocolate Chip Cookie Dough Cups

Clearly my affinity for baking has been taking over this blog, but hopefully you've all given up on your New Years Resolutions to "eat better" because everything you think you know about your life will change once you've tasted one (or three) of these. You thought Reese's were the ultimate candy? (If you don't we probably can't be friends). Homemade Reese's you say? That sounds pretty good huh? Oh no no, you poor, naive child. This recipe could solve world peace. It's literally the best thing to come along since, okay, well since Reese's cups. But these are on a whole other level. We are talking about the fusion of the two greatest baking inventions of all time. Chocolate and peanut butter, and chocolate chip cookie dough. Oh Yes. Dangerously Delicious and Adorable. Bake with caution.


Recipe Adapted from {http://www.howsweeteats.com/2012/03/chocolate-chip-cookie-dough-peanut-butter-cups/}


Ingredients

2 1/2 cups milk chocolate chips 1/2 cup unsalted butter
1/3 cup packed brown sugar
1 teaspoon vanilla extract
1/4 cup creamy peanut butter
3/4 cup powdered sugar
2 tablespoons all-purpose flour
1/4 teaspoon salt
1/2 cup mini chocolate chips


In a small saucepan, heat butter until melted. Whisk in brown sugar until dissolved, then let it bubble for 1-2 minutes. Remove from heat and whisk in peanut butter. Whisk in vanilla. Let sit and cool completely, about 20 minutes.

Line a mini muffin with with 24 liners. Melt 1 1/4 cups of chocolate chips using a double broiler method. Drop 1/2-1 teaspoon of chocolate into each liner, then use a pastry brush to brush chocolate up the sides of the liner. Place in the freezer for 20 minutes. 


By now your butter and sugar mix should be cool. Transfer to a mixing bowl and whisk in powdered sugar, salt and flour, until combine and few lumps remain. Fold in mini chocolate chips. (If the dough is too wet, you can pop it in the fridge for 15 minutes, but I found mine was still workable.)
 
Remove the muffin tin and place 1 teaspoon of cookie dough into the chocolate cups (press down only very lightly!). Place back in the freezer for 10-15 minutes. 

Melt the remaining chocolate chips, then cover each cookie dough top with chocolate, smoothing with a spoon. Freeze again for 15-20 minutes. 

Store at room temperature for up to a few hours, or store in the fridge.

~Makes 24 Cups


 Aren't miniature baked goods just adorable?

Friday, January 18, 2013

FUDGY Brownies

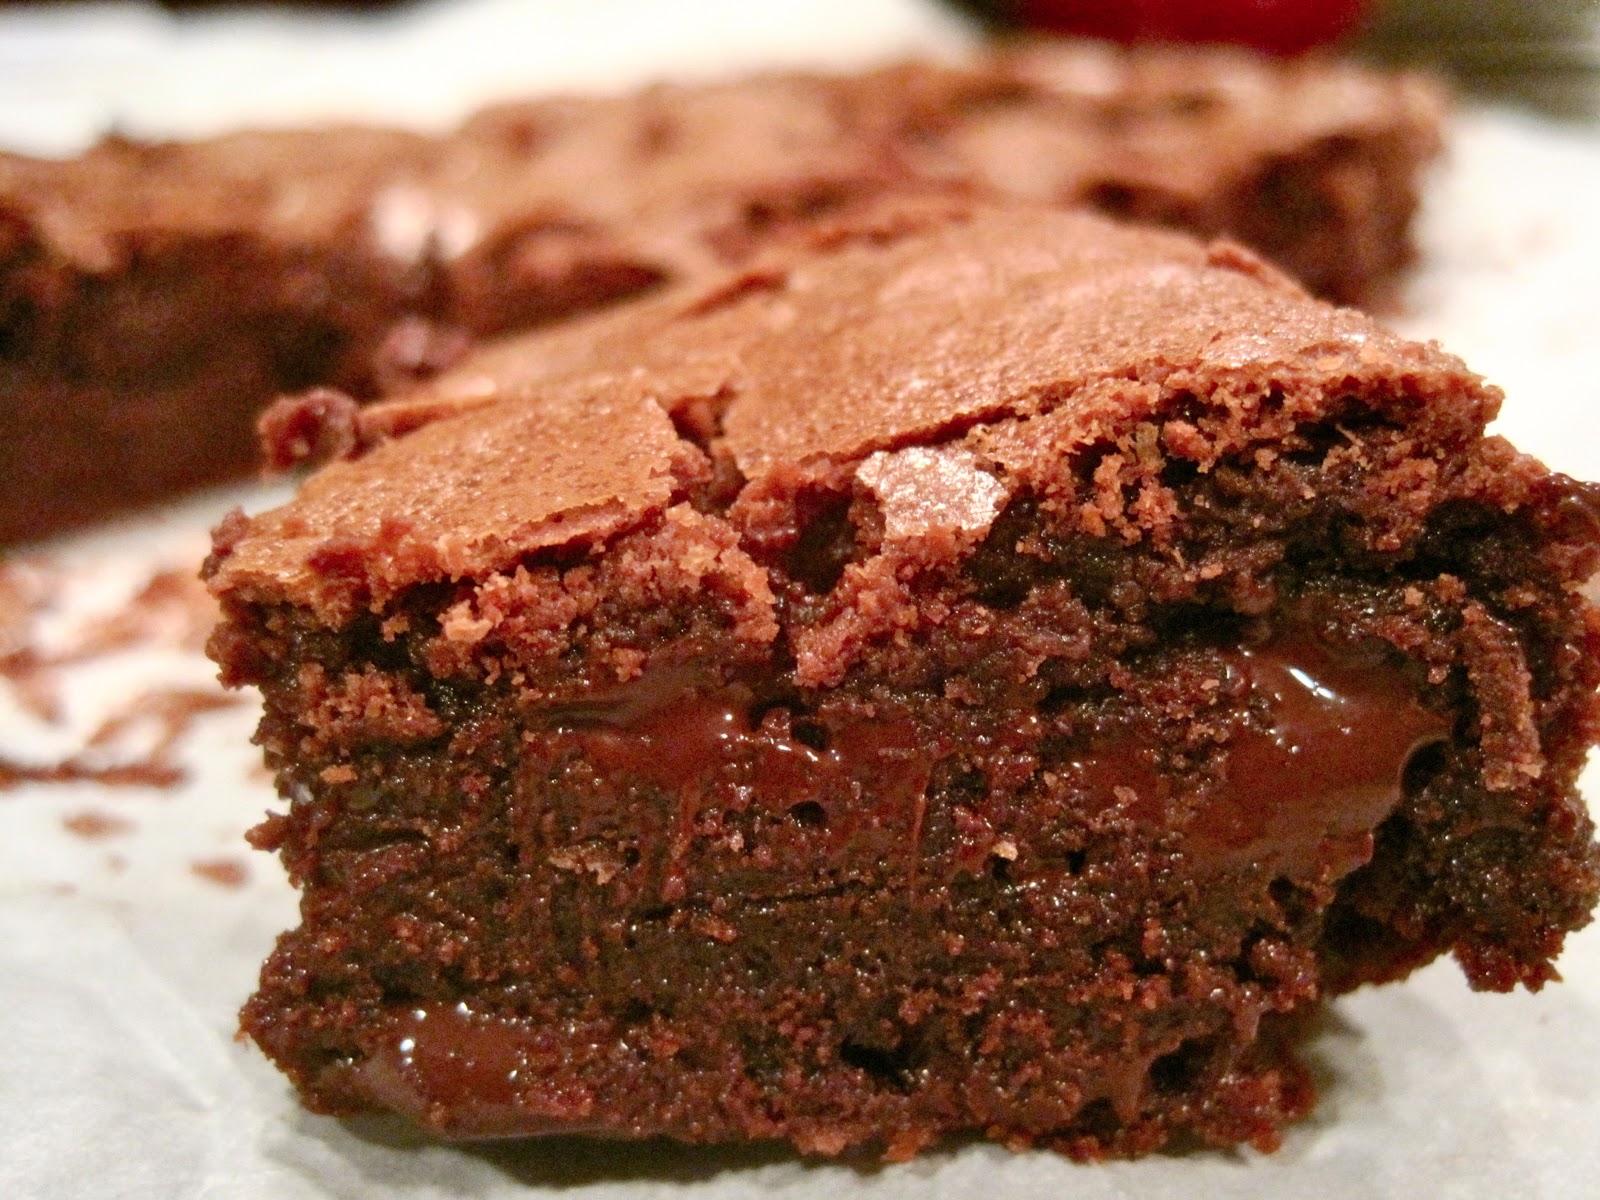
Fudgy vs. Cakey Brownies. It's a very touchy subject. Personally, I like them somewhere right in between. But in my quest to find that perfect balance, and with a contingency of friends and family who feel rather passionately about one or the other, I shall endeavor to create both extremes. These obviously fall into the Ultimate FUDGY camp. Literally, I don't think they could be any more rich, melty and solidly chocolatey.

There are two keys to fudgy brownies: fewer eggs (these have 2) and a small ratio of flour to fat and chocolate. Since the batter of fudgy brownies is so dense, it's also important to beat it vigorously to ensure that it is nice and smooth.

The last time I made brownies I was a very greedy girl and tried to turn them out from the pan far too early. Literally the entire half top of the brownies fell onto the counter, and I pathetically tried to piece it all back together. Thank god brownies are all about delicious chocolateyness and it doesn't really matter how pretty they look. But you really should wait that hour for the brownies to cool so they are easier to cut and the flavor has a little time to set (and so you aren't that sad puppy frantically scooping up every last crumb from the counter trying to make sure no ounce of brownie was wasted)


Recipe Adapted from {http://www.marinmamacooks.com/2011/12/roberts-absolute-best-brownies/}


Ingredients

6 Tbsp unsalted butter, cut into pieces
8 oz bittersweet or semisweet chocolate, chopped - I recommend Ghirardelli 60% bittersweet baking chocolate
3/4 c sugar
1 tsp pure vanilla extract
2 eggs, at room temperature
1/4 c all-purpose-flour
1 c semisweet or bittersweet chocolate chips - I recommend Ghirardelli 60% bittersweet chocolate chips


Preheat oven to 350 degrees. Chop up the dark chocolate baking squares. (it's easiest to do this on top of a piece of parchment paper - it makes cleanup easy, and ensures you get every little shard of chocolate into the pot)
 
Line the inside of an 8 or 9-inch square pan with 2 lengths of foil or parchment paper, positioning the sheets perpendicular to each other and allowing the excess to extend beyond the edges of the pan. Then lightly butter the foil or parchment paper.  

Melt the butter in a small saucepan. Add the chocolate and stir constantly until it's melted and smooth. Remove from heat and pour the chocolate and butter mixture into a bowl.

 
Add the sugar and the 1 teaspoon vanilla to the melted chocolate and mix until combined.
Then beat in the eggs, 1 at a time. 

Add the flour and stir the batter vigorously for 1 whole minute (it will be the longest minute of your life) until the batter loses it graininess, becomes smooth and glossy, and pulls away a bit from the sides of the bowl (work those arm muscles!) (This ensures that the batter will be rich, thick, satiny smooth, and glossy and that the brownies will be rich and fudgy.)

Pour the batter into the pan and pop it in the oven Bake until the center feels almost set and the edges are a bit firm, about 30-35 minutes. (it will appear molteny don't worry!)

Let the brownie cool completely in the pan (wait for about an hour - don't be a greedy bear!) before lifting the foil or parchment paper with your delicious brownie out of the pan. Enjoy with vanilla ice cream or milk!

Makes 16 dense, moist, delicious brownies!


Look at those dripping chocolate chips


You can never have too many pictures of brownies


Pure chocolate goo
Wednesday, January 16, 2013

Buttermilk Breakfast Biscuits


As this is my second biscuit recipe out of only about 20 recipes on this blog, there is clearly a special place in my foodie heart for biscuits. There is just something so satisfying about the dry, buttery flakiness of biscuits and scones. And the jam, let's not forget about that sweet, sticky pile of bliss.

I usually feel like a dying fish flopping out of water when I try to make pastry dough. Or Chemistry Dog. I literally have no idea what I'm doing. But if you have a food processor, or actually know what you are doing, you will save yourself a huge cleanup and an extra shower. I had a tougher time than usual with this one (and by tough time I mean I had dough sticking to every inch of me and my kitchen counter). But although the dough turned out to be way too wet and sticky, after dousing it in flour and folding it in a few times, things managed to get back under control. And, even better, the biscuits were still delicious! So don't worry, even if you have no clue what you are doing, just follow these instructions and you too can fool everyone into thinking you are a pastry goddess. 


 Recipe Adapted from {http://www.omnivorousfox.com/2012/12/flaky-buttermilk-biscuits.html}


 Ingredients:
1 and a scant quarter cup all-purpose flour 1/2 c cake flour
1 tbsp sugar
1 and 1/4 tsp baking powder 1/4 tsp baking soda 
3/4 tsp salt 
1 stick cold butter (make sure the butter is very cold!)
3/4 c buttermilk


(If you have a food processor, see the link above for instructions to make the dough in your food processor)

Preheat the oven to 425 degrees and line a baking sheet with parchment paper.
 

Whisk together the all-purpose flour, cake flour, sugar, baking powder, baking soda and salt in a large bowl.

Cut the butter it into very small pieces
and combine into the flour mixture with your fingertips until you have large course crumbs. Pour in the buttermilk and mix with a spatula until the dough forms (I recommend waiting to pour the last bit of the milk from the measuring cup to see if your dough needs it)


Dump the dough onto a floured surface and pat into a rectangle, about 3/4 in thick. Fold in thirds like a letter and pat down into a rectangle again. Repeat two more times, adding more flour to the surface each time to keep it from getting too sticky. 

Cut into 6 rectangles or use the mouth of a glass to cut the dough into circles. Brush the tops with an egg/milk mixture if desired and bake for 15 minutes or until golden brown.

Makes 6-7 Biscuits


Sunday, December 30, 2012

Chocolate Covered Strawberries for Christmas

The blog has returned! After a month-long break from both blogging and cooking (well cooking anything that wasn't rice in a box) for the sake of my thesis, and an entire week of post-finals sleep, I'm back in the kitchen! Here is a deliciously simple recipe for Chocolate Covered Strawberries to ease back into things (and procrastinate from the job hunt). Only 2 ingredients required, and I bet you can guess what they are!


Chocolate Covered Strawberries

Ingredients:
Nestle's Semi Sweet Chocolate Chips
Strawberries

Line a baking sheet with wax paper. Melt chocolate chips using a double broiler, stirring constantly. Turn down the heat and swirl the strawberries around in the chocolate until coated. Place on the wax paper and refrigerate until ready to eat (let them come to room temperature for a few minutes before serving.) Or eat them right out of the pot!

Jazz them up by drizzling melted dark or white chocolate on top, or adding sprinkles, crushed nuts, or other candies!


Sunday, November 18, 2012

Pumpkin Spice Bread


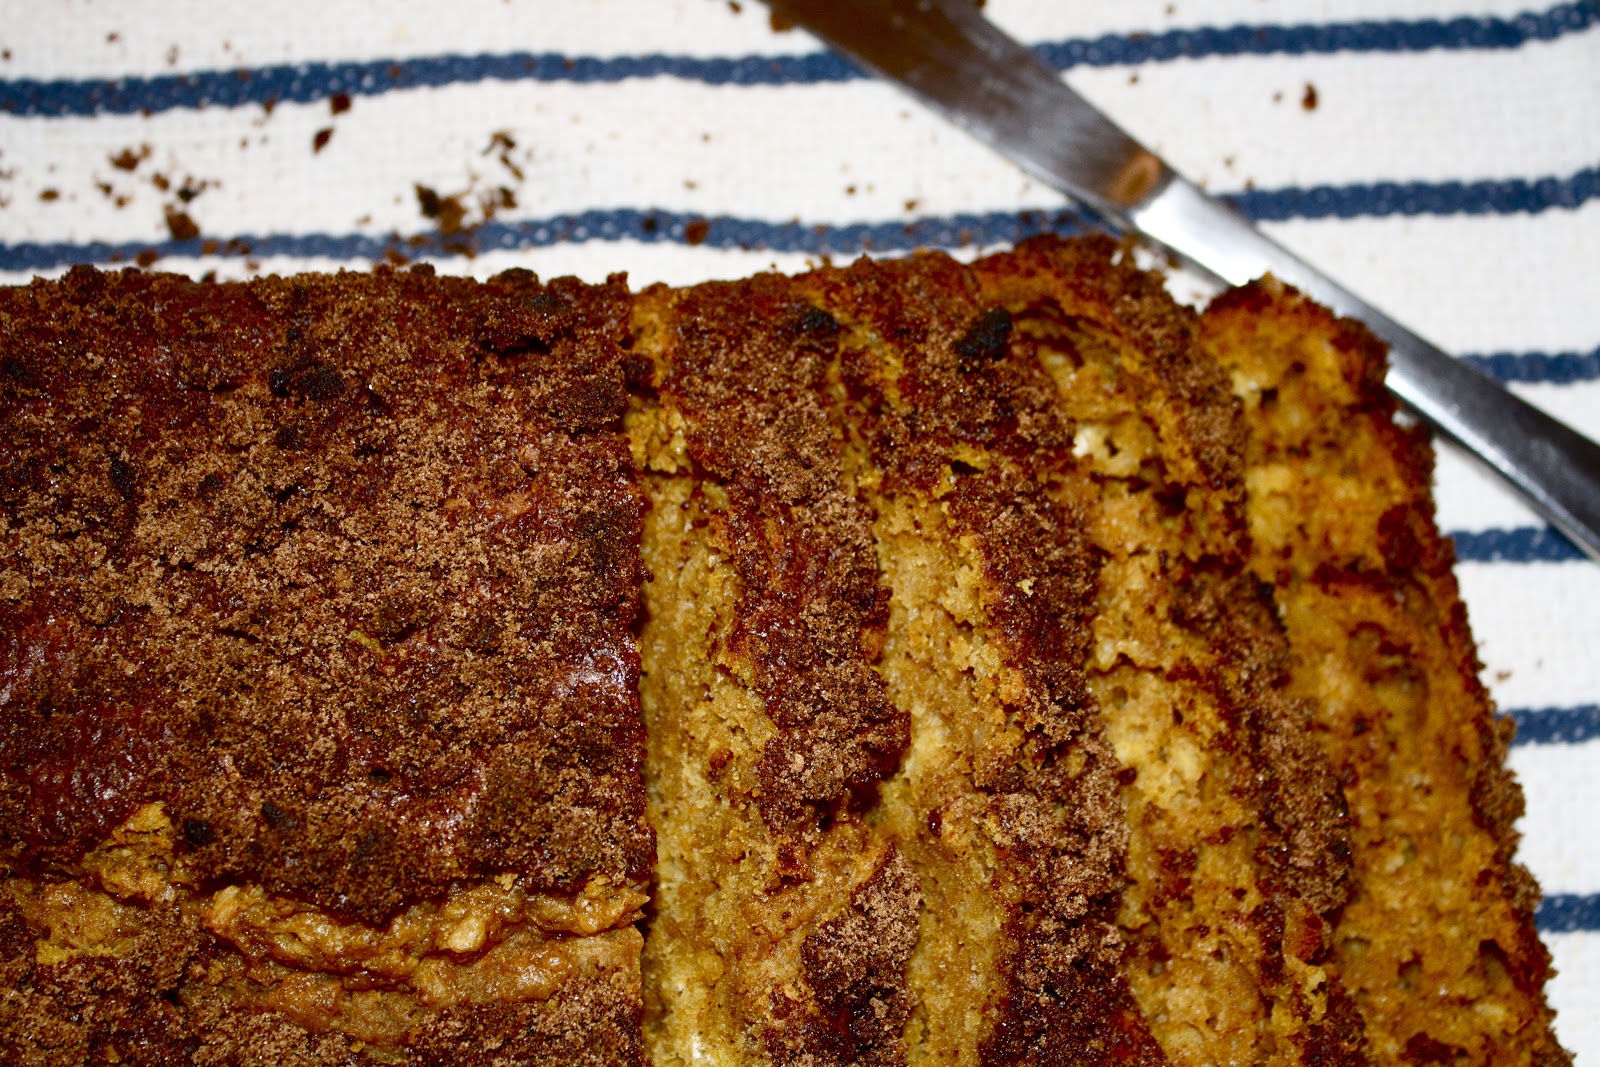
While this bread was delicious, next time I am going to try a simpler recipe. Quick breads just shouldn't require five bowls to prepare the ingredients. This is definitely a spend more time cleaning up than baking recipe, and while it was wonderful, it didn't quite justify all the extra work.


Special thanks to Alycia for lending me her fancy camera!


Monday, November 12, 2012

First Snowstorm: Easy Carrot and Ginger Soup


This recipe is perfect in every way. It's healthy, creamy, tastes like Fall, and, most importantly, so simple to make. Even better, the forty-minute wait is the perfect amount of time to let you catch up on the latest episode of your favorite show! (How is the Downton Abbey finale already here?)


You will need:

2 large yellow onions, diced
2 pounds of carrots, peeled, and roughly chopped
4 cloves of garlic, roughly chopped
2 tbsp unsalted butter
6 cups of chicken stock (or vegetable)
2 tbsp ginger,
1/2-1 cup of light cream (or 2% milk)
1 1/2 tsp salt
1 tsp cracked black pepper


Add the butter, onion, carrots, garlic and ginger to a large soup pot and cook for about 8 minutes. Add in the stock, bring to a boil and then lower the heat, cover the pot and simmer for about 40 minutes.

Use a hand blender or toss the mixture into a blender/food processor to puree the soup. Then add in the pepper and cream to your liking (add the cream in slowly and taste as you go, I only needed about 1/2 a cup. Top with Parmesan Cheese. Enjoy!


Saturday, November 3, 2012

Halloweekend: Pumpkin Spice Cupcakes


I first made these cupcakes with a friend last year in Copenhagen out of our mutual, hopeless love for all things fall. Of course when you are living in a foreign country for a short time, there is a lack of things kitchen-gadgety. But not even a dearth of muffin tins could keep us from this cupcake recipe. Driven by a passion for pumpkin our clever ingenuity led us to putting all our cupcake wrappers in a baking pan, ultimately leaving us with flat little amoeba cupcakes. #StudyAbroadProblems

Of course they were still the most delicious cupcakes in the world. It was sworn never to be repeated how many of those cupcakes we ate, but I’m pretty sure they were all gone by the next morning. Addictive. The maple cream cheese frosting is a must. You will die a glorious fall-scented death.


Cupcakes:
1 stick unsalted butter, room temperature, plus more for greasing pans
1 cup firmly packed dark-brown sugar
1/3 cup granulated sugar
2 cups cake flour
2 teaspoons baking powder
1 teaspoon baking soda
1 teaspoon ground cinnamon
1 teaspoon ground ginger
1/2 teaspoon ground nutmeg
1/8 teaspoon ground cloves
1/2 teaspoon salt
1/4 teaspoon freshly ground black pepper
2 large eggs
1/2 cup buttermilk mixed with 1 teaspoon vanilla
1 1/4 cups canned solid-pack pumpkin


Preheat the oven to 350 degrees F. Line a cupcake pan with 18 liners.

With an electric mixer, beat the butter and sugars on medium speed until fluffy, about 5 minutes. Meanwhile, sift the flour, baking powder, baking soda, cinnamon, ginger, nutmeg, cloves, salt, and pepper into a medium bowl.

Add the eggs 1 at a time to the sugar/butter mixture, scraping down the sides after each addition. Then, alternate adding in the flour and milk mixtures, beginning and ending with the flour. Beat in the pumpkin until smooth.

Scoop the batter into the cupcake liners so they are about ¾ of the way full.

Bake the cakes until a toothpick inserted into the center comes out clean, about 20 to 25 minutes. Cool the cupcakes on racks completely.


Frosting:
Two (8-ounce) packages cream cheese, softened
1 stick unsalted butter, room temperature
2 cups confectioners’ sugar
1/4 cup pure maple syrup

In a stand mixer beat all the ingredients on medium until fluffy.

Makes 18 cupcakes


  HAPPY HALLOWEEN EVERYONE!

Technology makes it easier!